Pay Quest Diagnostics: Quest Diagnostics is an American Fortune 500 company headquartered in Secaucus, New Jersey. It began its operation in 1967 and had over 45,000 employees.
Quest Diagnostics provides diagnostic testing services for cancer, cardiovascular, neurological, infectious disease, employment, court order testing, and recently, for Covid-19. In addition, they were actively involved in the fight against Covid-19 by performing around 10 million molecular tests by July 2020.
This guide provides a step-by-step follow-through of the entire process for users looking to pay their Quest Diagnostics online bills and avail of other services.
Requirements:
- Users would require a Laptop, Desktop, or smartphone to pay bills online.
- A stable internet connection ensures proper facilitation of the registration process.
- Users would require their email address, mobile number, and alternate mobile number.
- Users also need their date of birth, address, and zip code.
- Your Lab Code or Bill Number is required to make
How to create an account in the Quest Diagnostics portal?
To make bill payments, users must create an online account through https://www.questdiagnostics.com/home/, where they would also avail themselves of other services. Here’s how:

- Visit the Queen Diagnostics homepage and click on the ‘Make an Appointment option at the top right corner.
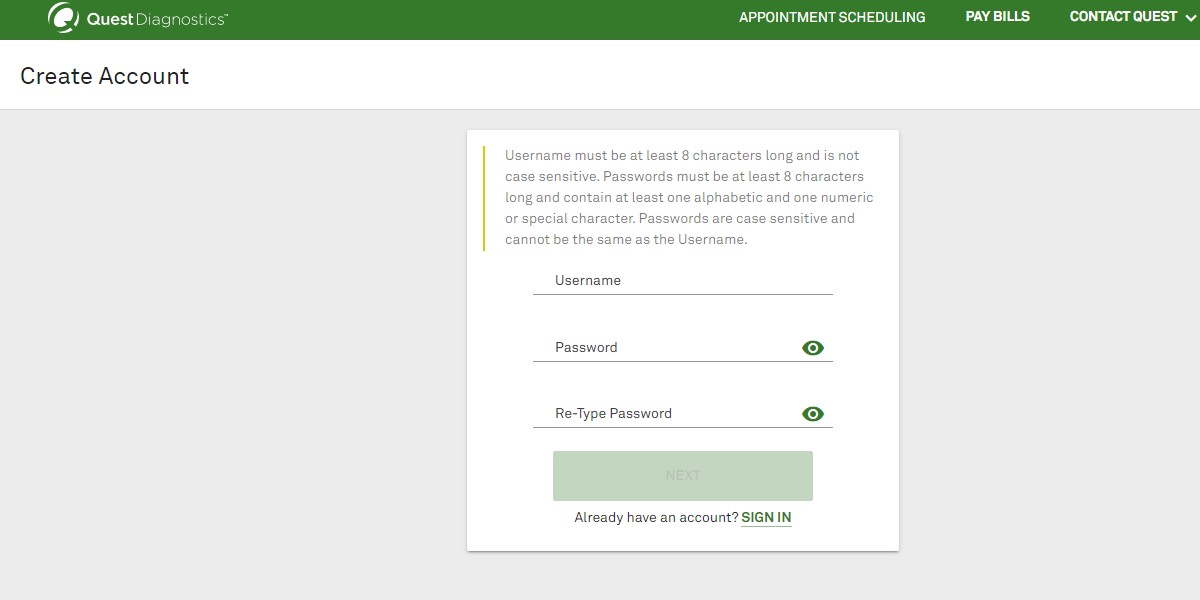
- Once on the next page, click the ‘Create MyQuest Account’ option.
- Click on the ‘Create Account button present on the webpage.
- Fill in the required fields with a username and password.
- You will be required to re-enter your password and click ‘Next.
- You will be redirected to a page after which you have to fill in every detail as follows:
- First name, last name
- Sex and Date of Birth
- Primary number, Email address, residential address, and zip code.
- Click on ‘Next,’ and your account will be created.
Logging to your Quest Diagnostic account:
Those who have successfully created an online account can now sign in, access various services and even book appointments at their convenience.
The steps to sign in are also simple to follow. Here’s how:
- Visit the Quest Diagnostics homepage at https://www.questdiagnostics.com/home/.
- Click on the ‘Login’ button present at the top right corner of the page.
- This will pop a small window within the webpage where you can choose the type of login: patient or medical expert.
- Select the ‘Click here to Log In to MyQuest’ under the ‘For Patients’ section. Alternatively, you can directly enter the login page through the MyQuest login page link.
- Enter your username and password, which you created during the registration process.
- Click ‘Login.’
Forgot your MyQuest Username or Password?
For users who have forgotten their username or password, there are ways to access your account by undergoing a few steps. You can retrieve your username or reset your password by visiting the MyQuest sign-in page.
- To reset your password, click the Reset Password option below. You will be redirected to a page where you must enter your username. Click on ‘Next,’ and you can provide a new password for your account.
- To retrieve your username, click on the ‘Forgot Username’ option present below. You will be redirected to a page where you must enter your first name, last name, registered email address, and date of birth. Click on ‘Next,’ and you will receive your registered username.
How to Pay Your Quest Diagnostic Bill?
Users who make payments online through the MyQuest portal must keep their lab code or bill number ready. Here’s how you can pay your bills online:

- Visit the MyQuest Homepage and click on the ‘Pay Bills’ option present at the top.
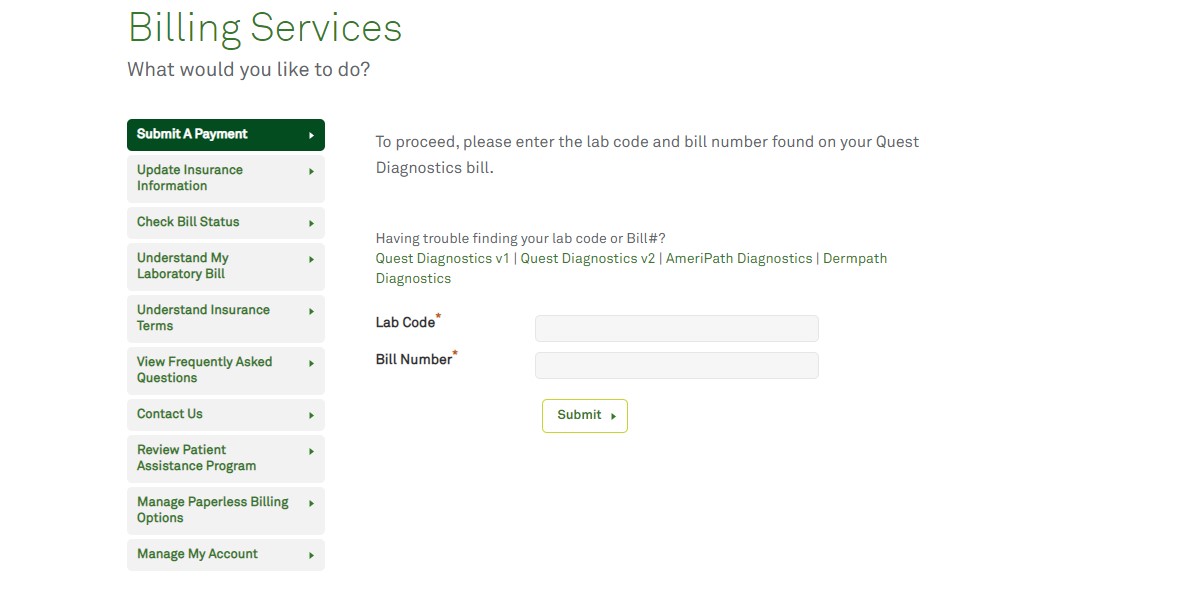
- You can find the ‘Submit A Payment’ tab on the left of the Billing Services section. Click on the tab to go and make your MyQuest payment. Alternatively, you can also directly enter the Bill Payment page.
- Enter your Lab code or Bill number and select ‘Submit.’
- You will be shown your MyQuest bill and can make payment accordingly.
How to book/schedule an appointment?
For those who would want to book an appointment, they can visit the following page, https://appointment.questdiagnostics.com/patient/appointment.
- First, you will be required to select the reason for the visit. Then, please choose one option regarding the sender to take the test: Medical profession, Employer, or Purchased test.
- Following that, select the type of testing you require to undertake.
- The next step is to select the location for testing.
- Your appointment will be scheduled at the end of the booking process, and a confirmation code will be available for future reference.
- You can use this confirmation code to view or cancel your appointment.
What to do if you have forgotten your confirmation code?
If you have forgotten your appointment confirmation code, you can retrieve it by accessing the link: https://appointment.questdiagnostics.com/patient/confirmation.
You will be asked to insert your registered email address and phone number. Then, click on ‘Send Details’ to retrieve your confirmation code.
Benefits of MyQuest Account:
- A convenient way to view and manage your appointments.
- You can retrieve and view your lab test results.
- Appointment scheduling.
- Online bill payment.
Also Read: MyHFT Login
Payment methods:
- Online portal: You can always make bill payments through a Bank account on MyQuest.
- By Mail:Each invoice will contain an email address to which you can make a payment.
- Phone: For those looking to make payment by phone, you can dial the toll-free number at877-287-8155.
This detailed guide provides sufficient information regarding the MyQuest portal and a comprehensive step-by-step guide to making bill payments and availing of other portal services.
